User Guide
Running the demonstrator
Running the demonstrator is a bit complicated, due to its distributed nature and the use of different technologies. Please make sure to have the following software installed on your machine:
Docker (for example Docker Desktop)
MongoDB (for example MongoDB Community Edition)
Python 3.9 or higher (for example Anaconda)
For Troubleshooting, you can check out this setup video of a similar technology stack.
Setting up MongoDB
The demonstrator uses MongoDB as a database to store the data. FastIoT’s MongoDB connector is required to connect the MongoDB database using a username and password. It is not possible to connect to the database without a username and password (even though when you can access it without password protection in the MongoDB shell or MongoDB Explorer). To set up the MongoDB database, please follow these steps:
make sure MongoDB is running on your machine. You can check this by running the following command in the terminal:
sudo systemctl status mongod
If MongoDB is not running, you can start it by running the following command
sudo systemctl start mongod
Create username and password in the mongo shell:
use admin
db.createUser({ user: "fiot", pwd: "fiotdev123", roles: [ { role: "root", db: "admin" } ] })
This username and password is used this repository to connect to the MongoDB database. If you want to use a different username and password, you need to change the corresponding Microservice.
Clone the repository
First, clone the repository to your local machine. You can do this by running the following command in your terminal:
git clone https://github.com/Alexander-Nasuta/openhub-demo.git
Create a Virtual Environment (optional)
Most Developers use a virtual environment to manage the dependencies of their projects.
I personally use conda for this purpose.
When using conda, you can create a new environment with the name ‘openhub-demo’ following command:
conda create -n openhub-demo python=3.11
Feel free to use any other name for the environment or a more recent version of python. Activate the environment with the following command:
conda activate openhub-demo
Replace openhub-demo with the name of your environment, if you used a different name.
You can also use venv or virtualenv to create a virtual environment. In that case please refer to the respective documentation.
Install the dependencies
Next, you need to install the dependencies for each Dataspace Participant (FastIOT Project).
pip install -r ./anlagenbetreiber/requirements.txt
pip install -r ./dienstleister/requirements.txt
pip install -r ./hersteller/requirements.txt
Create FastIoT configuration
Next create the FastIoT configuration for each Dataspace Participant (FastIOT Project).
cd ./anlagenbetreiber
fiot create config
cd ../dienstleister
fiot create config
cd ../hersteller
fiot create config
Starting the Nats Broker
The simplest way to start the Nats Broker is to use FastIoTs integration_test deployment.
cd ./anlagenbetreiber
fiot start integration_test
Starting MLflow
The MLflow server is used to manage the machine learning lifecycle, including experimentation, reproducibility, and deployment. To start the MLflow server, run the following command in your terminal:
mlflow server --host 127.0.0.1 --port 8080
Starting the Microservices
The Microservices can be started by running the run.py script in each directory.
So for example for starting the MongoDB Database Service machinen_parametrierung_service.py run the script ./anlagenbetreiber/src/anlagenbetreiber_services/machinen_parametrierung/run.py
The Services depend on each other, so to avoid warning and error messages, please run the services in the following order:
(make sure the Nats Broker, MongoDB, Docker, MLflow are running)
MongoDB Service (
mongo_databasein./anlagenbetreiber/src/anlagenbetreiber_services)Dataspace Connector Service (Machine Operator) (
edc_anlagenbetreiberin./anlagenbetreiber/src/edc_anlagenbetreiber)Data Processing Service (
data_processingin./dienstleister/src/dienstleister_services)Dataspace Connector Service (ML Service Provider) (
edc_dienstleisterin./anlagenbetreiber/src/anlagenbetreiber_services)ML Model Training Service (
ml_trainingin./dienstleister/src/dienstleister_services)ML Serving Service (
ml_servingin./hersteller/src/hersteller_services)Dataspace Connector Service (Machine Manufacturer) (
edc_herstellerin./hersteller/src/hersteller_services)Prediction Consuming Service (
machinen_parametrierungin./anlagenbetreiber/src/anlagenbetreiber_services)
Expected Output
Here are some Screenshots and Videos of the running System
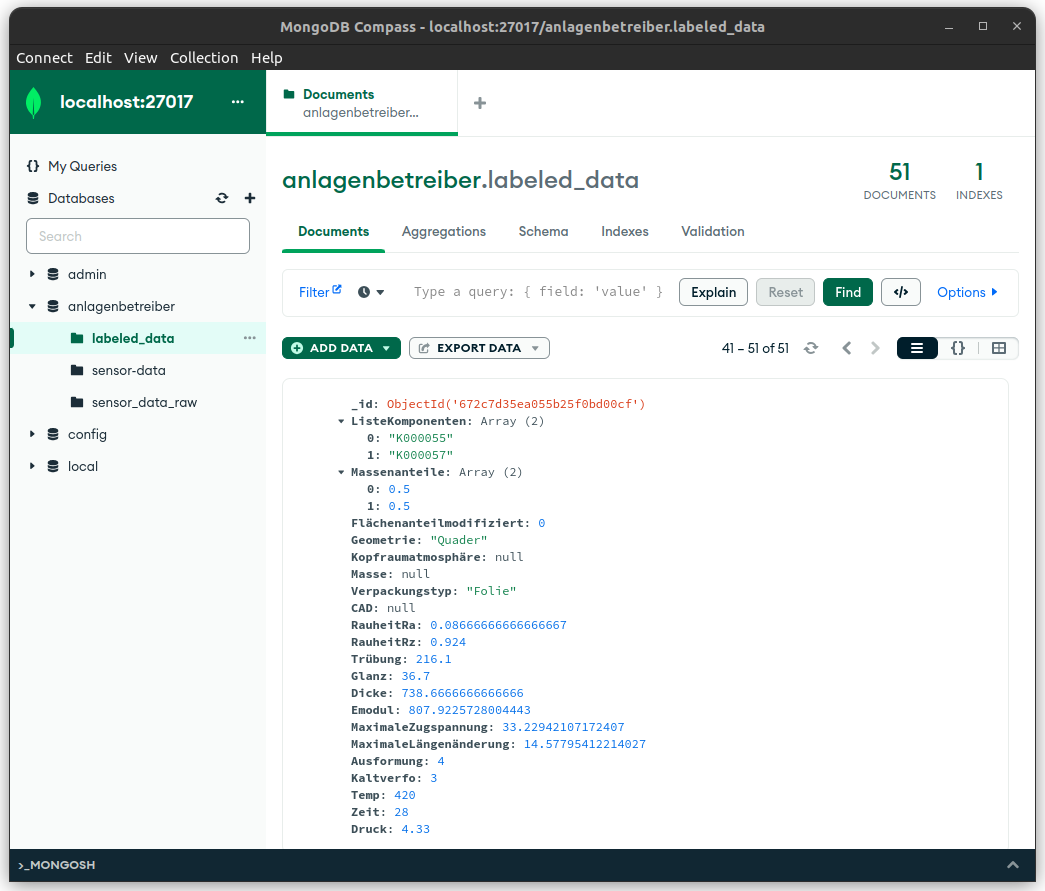
Database
In MongoExplorer you can see the data that is stored in the MongoDB database.
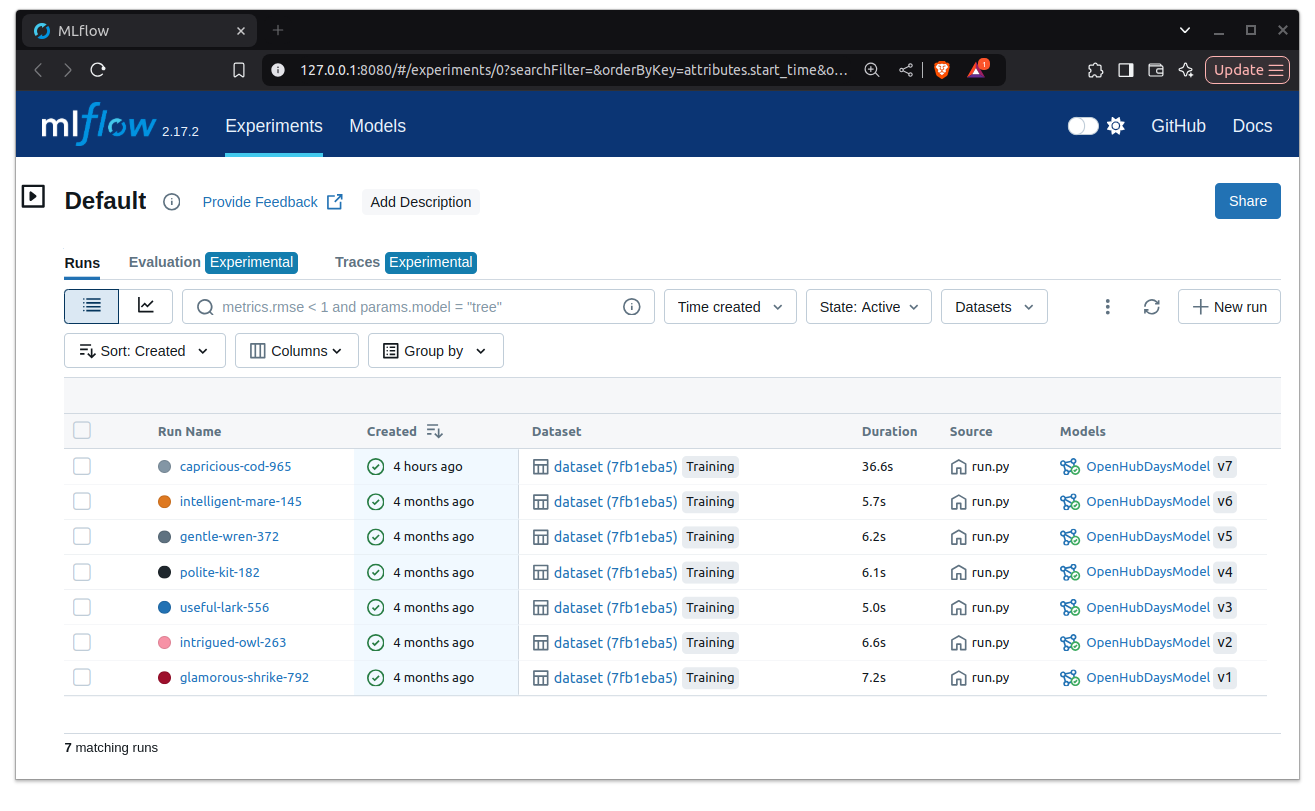
MLFlow
Over time you should see a bunch of runs in MLflow in the Experiments tab.
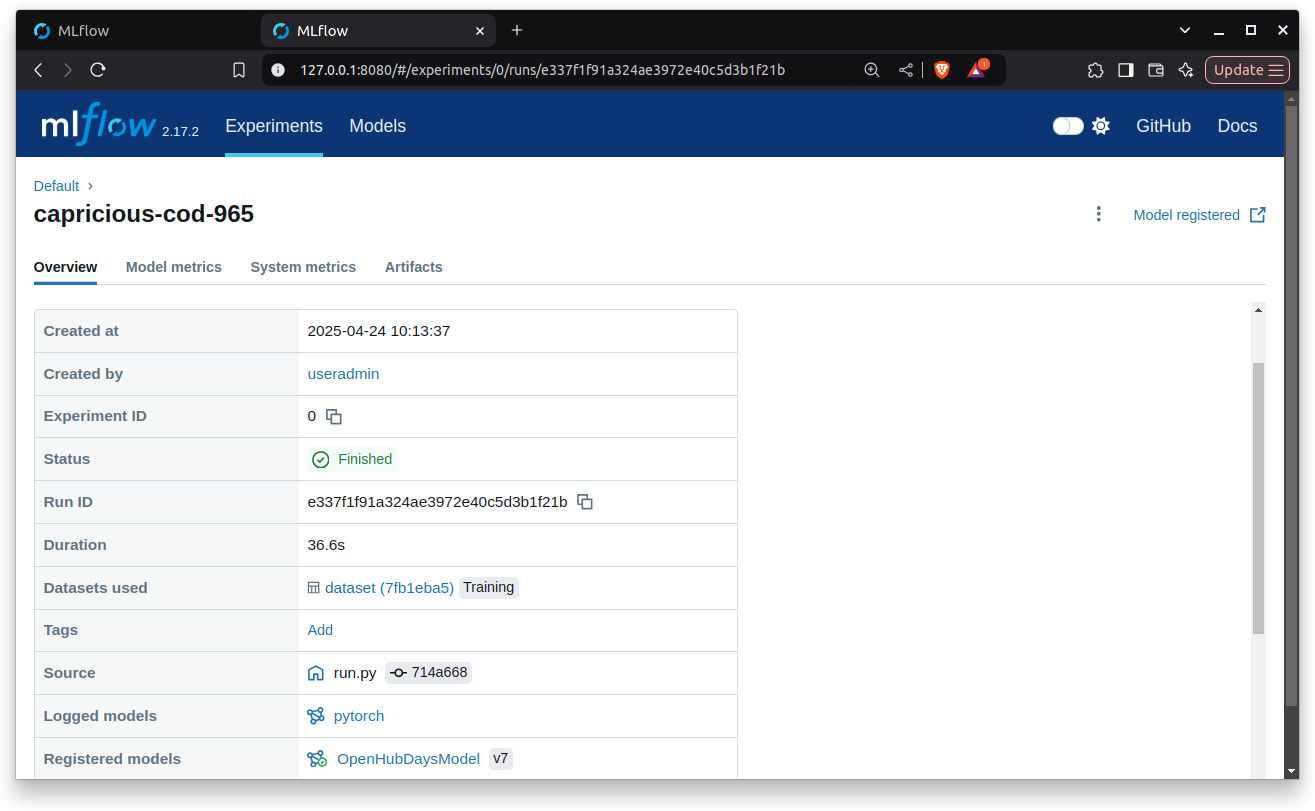
The detailed view of a run looks like this:
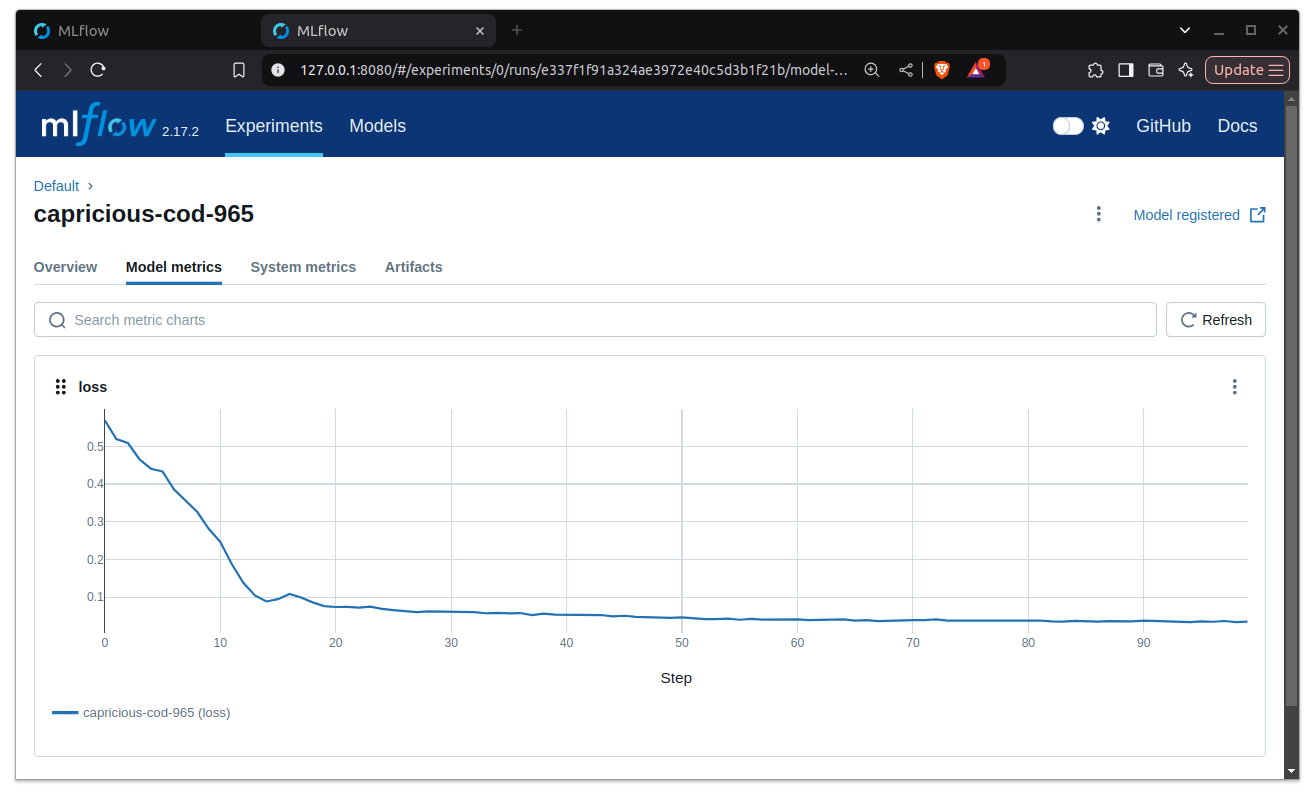
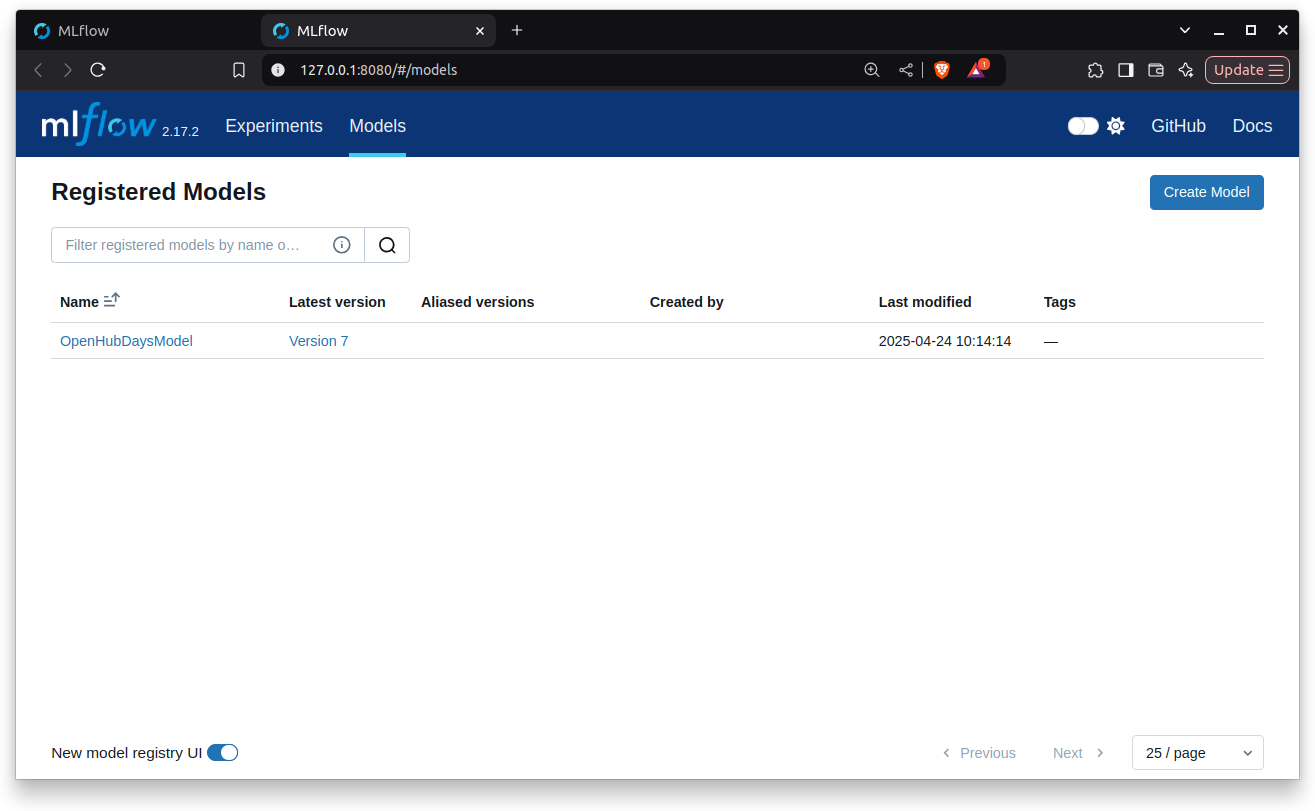
The trained models will appear in the Models tab.
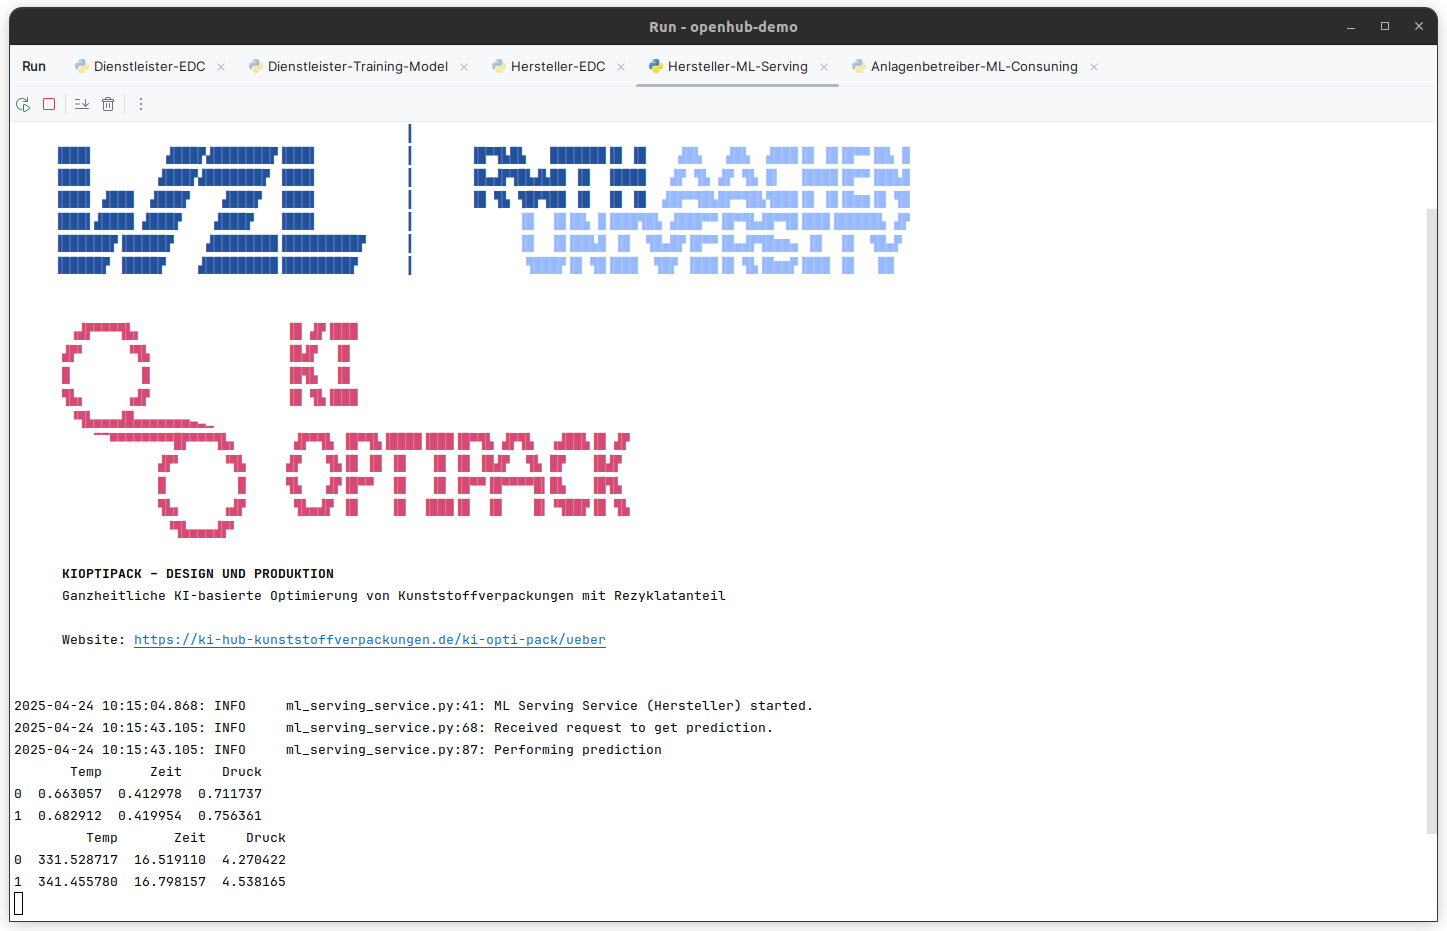
Console logs
Below you can find the console logs of the Model Hosting Service with two example predictions.
In this Video you can see some console logs of the running system.
Video on Youtube:

Video on Github: Watch Video: Screencast.webm